Well, Windows 10 includes a pre-built utility known as Display Color Calibration to deal with brightness or color-related issues with monitors. The feature improves the color of your display. Also Read: How to Enable & Use Color Filters in Windows 11
Steps to Calibrate Your Monitor Color in Windows 10
So, if you want to calibrate your monitor in Windows 10, you are reading the right article. In this article, we will share a detailed guide on how to calibrate displays in Windows 10. Necessary: The color calibration tool won’t fix a damaged display. This utility only modifies the system files to display better colors.
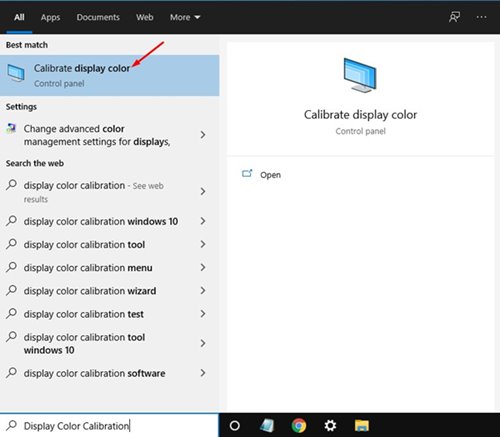
First of all, click on the Windows 10 search bar and type in Display Color Calibration. Then, open the first app from the list.
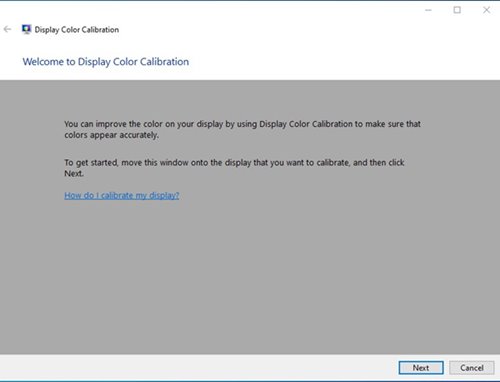
This will launch the Display Color Calibration tool. Click on the Next button to continue.
On the set essential color settings Window, click on the Next button.
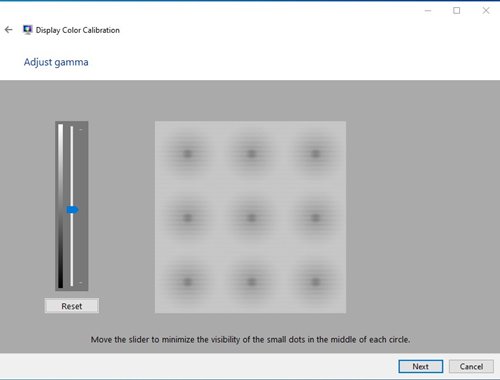
Now, you will be asked to adjust the gamma. Move the slider to adjust the gamma.
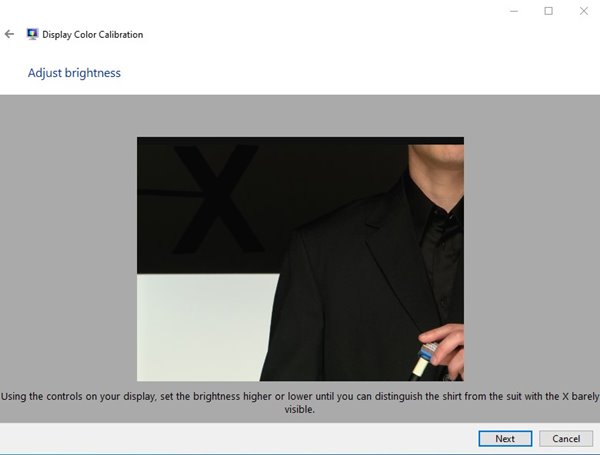
Once done, click on the Next button. Next, you will be asked to adjust the brightness on your PC’s monitor. It would be best if you used the Brightness control on your display to adjust the brightness.
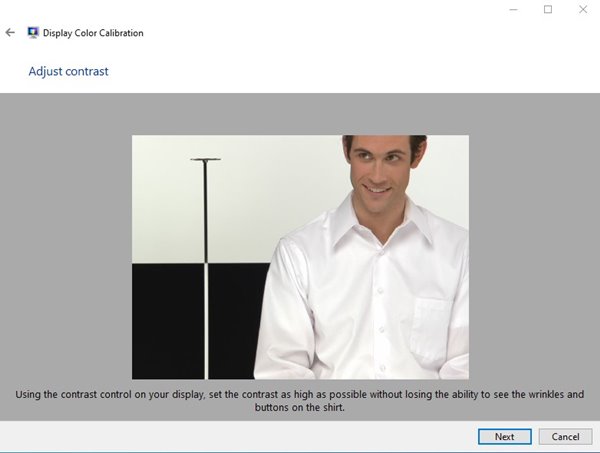
On the next Window, you will be asked to set the contrast levels. For that, you need to use the contrast control on your display to adjust the contrast. Once done, click on the Next button.
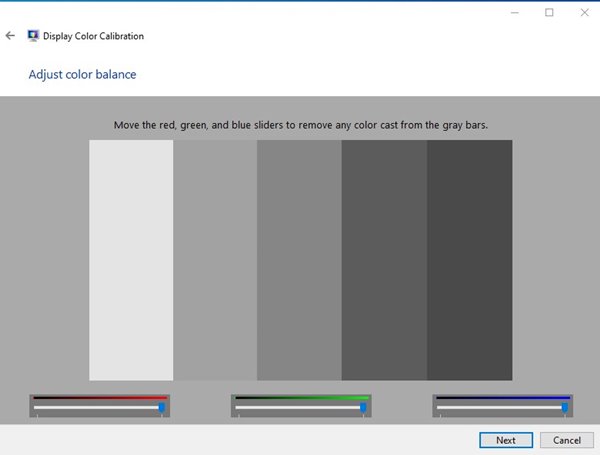
On the next Window, you will be asked to adjust the color balance. You need to adjust the RGB (Red, Green, Blue) as per your need.
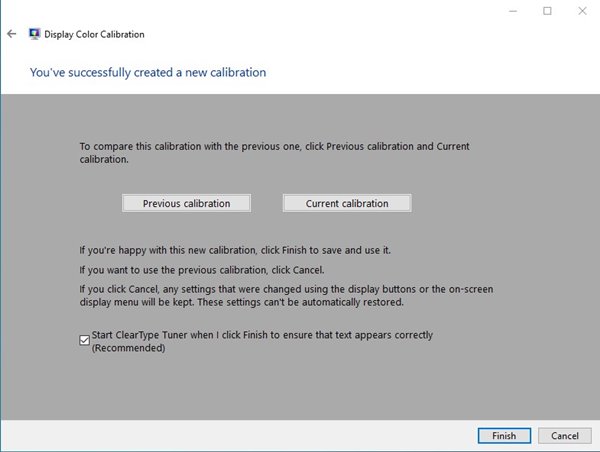
Next, click on the Finish button to apply the changes.
That’s it! You are done. This is how you can calibrate your monitor in Windows 10. So, this guide is all about how to calibrate your monitor in Windows 10. I hope this article helped you! Please share it with your friends also. Also, if you have any doubts about this, let us know in the comment box below.
