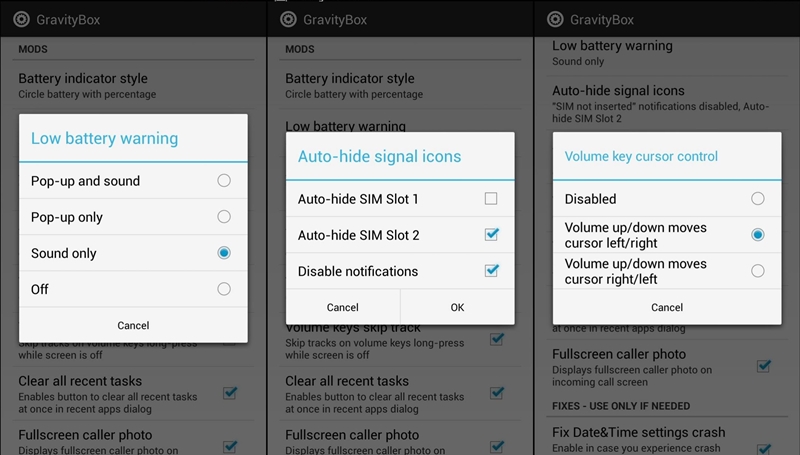
In this article, we are going to share another best method to customize your Android. By following the method given below, you can completely change your Android’s user-interface. To customize Android, we will be using an Xposed Module known as GravityBox.
What is GravityBox?
If you have a rooted Android device, you might know the importance of Xposed Framework. It’s one of the essential tools for tweaking the core feature of Android. Xposed basically uses modules (small apps) to give you full control over your device’s look and feel. There are plenty of Xposed Modules available for Android, and GravityBox is one of them. With GravityBox, you can tweak and improve almost every part of the Android operating system. For instance, you can customize the LED notifications, customize the navigation bar, add more icons to the status bar, etc.
Things You Can Do With GravityBox
GravityBox adds a ton of tweaks on Android in one customizable package. Below, we will share a few Android tweaks that you can enable and disable to fit your needs. Check out the GravityBox tweaks.
Enables customization for the status bar. CUstomization for the Status bar’s quick settings panel. Adds lock screen features. You can tweak the app to add a brightness control sidebar on the status bar. Change the color & style of icons in Android’s status bar. Skip music tracks with the volume button. Block notifications of apps. Resize any home screen widget as per your choice.
Also Read: How To Use a GIF as Live Wallpaper On Android
Steps To Customize Your Android With GravityBox
Now that you are fully aware of GravityBox let’s know how to customize your Android device with GravityBox. Before we share the method, it’s worth noting that GravityBox is an Xposed Module, which means it needs an Xposed framework to run, and Xposed works only on a rooted device. So, ultimately, you need to have a rooted device to use GravityBox. Step 1. First of all, you need a rooted android as Xposed installer can only be installed on a rooted android, so Root your android to proceed to install this tweaker. Step 2. After rooting your android device, you have to install the Xposed installer on your android, which is quite a lengthy process, and for that, you can proceed with our Guide to Install Xposed Installer On Android. Step 3. After installing the Xposed module, you need a cool Xposed module called GravityBox, the app that you will get from the below links to have several cool tweaks to try on your android device. JellyBean | Kitkat | lollipop. For the latest Android version – GravityBox. Step 4. Now install the app, and then in Xposed installer activate this app. Make sure to reboot your android device for the proper working of the module in your device. Step 5. Now launch the app after the restart. You will now see lots of cool options that you can try on your android. You can customize anything according to your wish on your device.
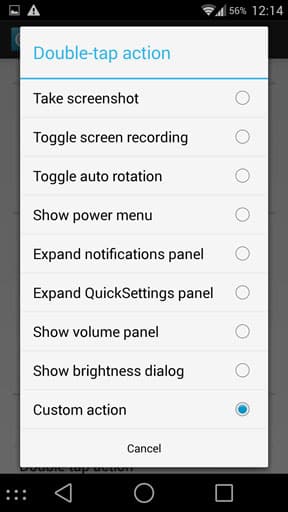
Step 6. You can also add custom navigation keys action with GravityBox.
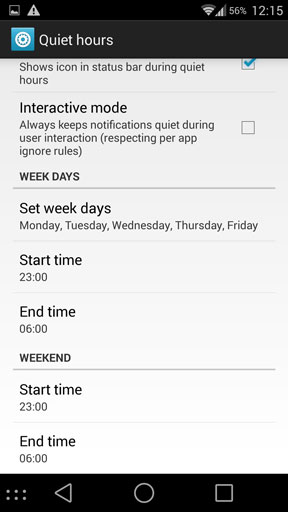
Step 7. If you want to improve your focus, then you can also enable Quite Hours. It’s much similar to the DND mode.
That’s it! You are done. You need to explore all tweaks to know the full potential of the app. Each of the tweaks either adds new features or modifies the existing ones. So above is all about how to customize Android with GravityBox. I hope this article helped you! Please share it with your friends also. If you have any doubts related to this, let us know in the comment box below.


